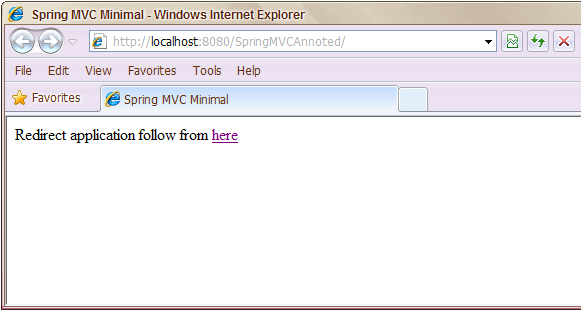
In earlier posts we saw the different URL handler mappings available to enable the servlet to route requests to correct controllers. Spring has also introduced annotation based controllers.
I did a more or less repeat of the earlier application configuring first the dispatcher servlet
The key to all this is the RequestMapping annotation. The annotation accepts
The XML configuration for the above example is :
The output jsp page :
On clicking the resultant jsp view is :
The console indicates our request and response objects were received from the servlet:
I did a more or less repeat of the earlier application configuring first the dispatcher servlet
<servlet>
      <servlet-name>springDispatcher</servlet-name>
      <servlet-class>org.springframework.web.servlet.DispatcherServlet</servlet-class>
</servlet>

<servlet-mapping>
    <servlet-name>springDispatcher</servlet-name>
    <url-pattern>*.do</url-pattern>
</servlet-mapping>
The next step was to define a controller:
@Controller
public class DataWelcomeController {

    @RequestMapping(value = { "/anything.do", "/home.do" }, method = { RequestMethod.GET }, consumes = {
            "text/plain", "application/*" }, produces = { "text/plain" }, headers={},params={})
    public String handleRequest(final HttpServletRequest request,
            final HttpServletResponse response, Map<String, Object> model)
            throws Exception {

        System.out.println("Request object received for method "
                + request.getMethod());
        User user = new User();
        user.setAge(61);
        user.setName("Test user");
        model.put("user", user);
        System.out.println("response content type is not set : "
                + response.getContentType());
        return "data";
    }

}
As above our class is a simple POJO that does not extend anything. It is simply annotated with the @Controller annotation - indicating to Spring that the class is a web-controller. The next step is to define our control method. As we do not extend any class, Spring allows to write any method with any signature . We can add any number of parameters. For e.g. in the above code only the map was necessary to pass the attributes. However I also added the request and response. Spring will ensure that the three parameters are received by my method.
The key to all this is the RequestMapping annotation. The annotation accepts
- the URL pattern to use
- The HTTP methods to support
- accept and mime type details
- and additional headers or parameters that must be present for the request to be routed here
The XML configuration for the above example is :
<mvc:annotation-driven/>

<bean id ="dataWelcomeController" class="com.mvc.controller.DataWelcomeController"/>

<bean id="viewResolver"
    class=" org.springframework.web.servlet.view.InternalResourceViewResolver">
    <property name="prefix"> <value>/jsp/</value> </property>
    <property name="suffix">
        <value>.jsp</value>
    </property>
</bean>
The single most important line in the above configuration is the annotation-driven element from the MVC workspace. Besides support for the MVC annotations it enables validation support, message conversion, and support for field formatting.
The output jsp page :
<%@ page language="java" contentType="text/html; charset=ISO-8859-1"
    pageEncoding="ISO-8859-1"%>
<!DOCTYPE html PUBLIC "-//W3C//DTD HTML 4.01 Transitional//EN" "http://www.w3.org/TR/html4/loose.dtd">
<html>
    <head>
        <meta http-equiv="Content-Type" content="text/html; charset=ISO-8859-1">
        <title>Spring MVC Minimal</title>
    </head>
    <body>
        This is the model based view as JSP
        <br/>The user is <%=request.getAttribute("user") %>
    </body>
</html>
I executed the application:
Request object received for method GET
response content type is not set : null


No comments:
Post a Comment